Images Upload REST API using ASP.NET Core
To build a REST service, we create an ASP.NET Core 2.0 Web Application project.
NOTE: If you are perfoming this task on ASP.NET CORE 3.0 then File / Images Upload REST API using ASP.NET Core 3.0
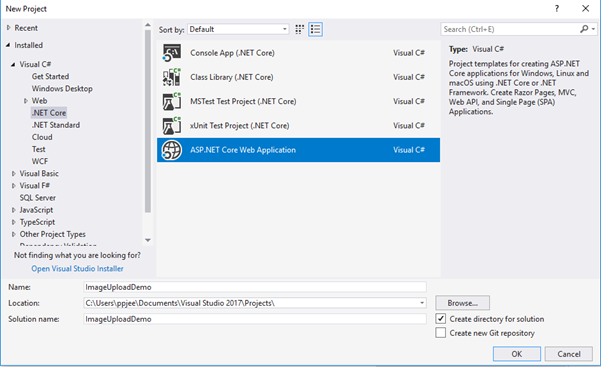
- Create new Project,
- Select Visual C#,
- Select Asp.Net Core Web Application,
- Provide suitable name,
- Click on OK
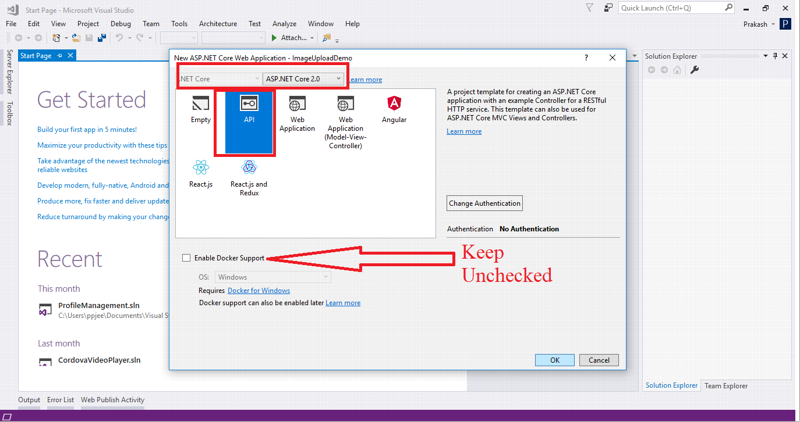
- Select API.
- And click on OK.
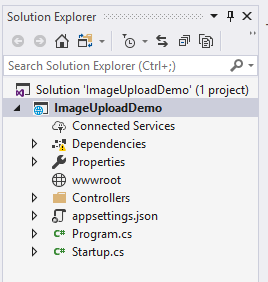
- Our Project look like this:
Add Following code on Startup.cs
app.Run(async (context) =>
   {
     await context.Response.WriteAsync("MVC didn't find anything!");
   });
Add Namespace “Microsoft.AspNetCore.Http” on Startup.cs.
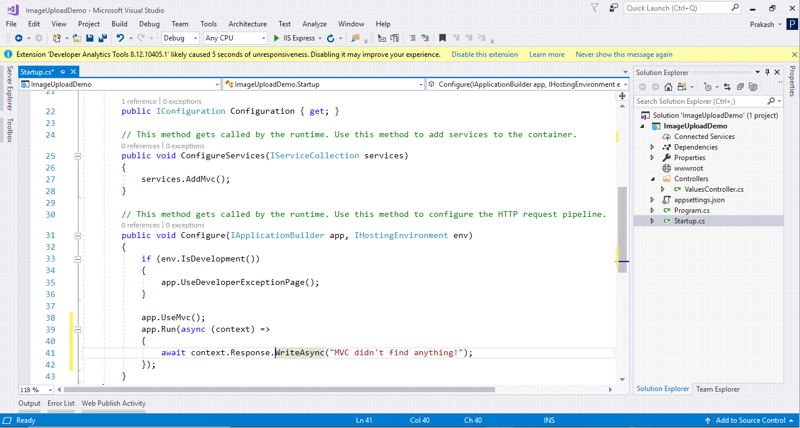
our Startup.cs file look like this:
using Microsoft.AspNetCore.Builder;
using Microsoft.AspNetCore.Hosting;
using Microsoft.AspNetCore.Http;
using Microsoft.Extensions.Configuration;
using Microsoft.Extensions.DependencyInjection;
namespace ImageUploadDemo
{
    public class Startup
    {
        public Startup(IConfiguration configuration)
        {
            Configuration = configuration;
        }
        public IConfiguration Configuration { get; }
        public void ConfigureServices(IServiceCollection services)
        {
            services.AddMvc();
        }
        public void Configure(IApplicationBuilder app, IHostingEnvironment env)
        {
            if (env.IsDevelopment())
            {
                app.UseDeveloperExceptionPage();
            }

            app.UseMvc();
            app.Run(async (context) =>
            {
                await context.Response.WriteAsync("MVC didn't find anything!");
            });
        }
    }
}
- Now, Add New Item(“Controller Class”) inside Controller folder.
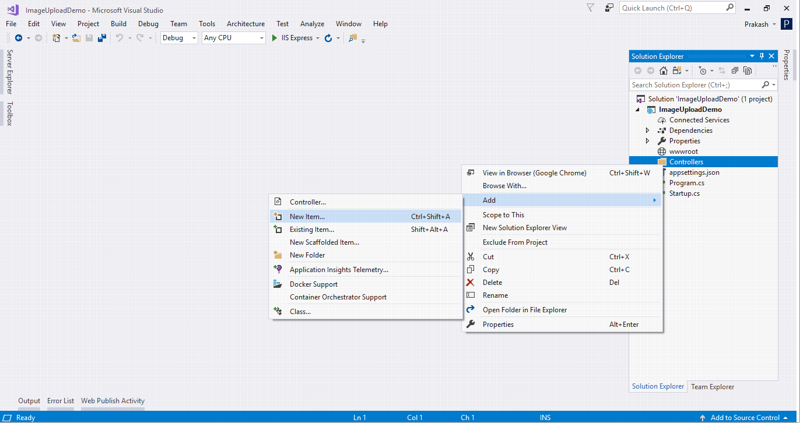
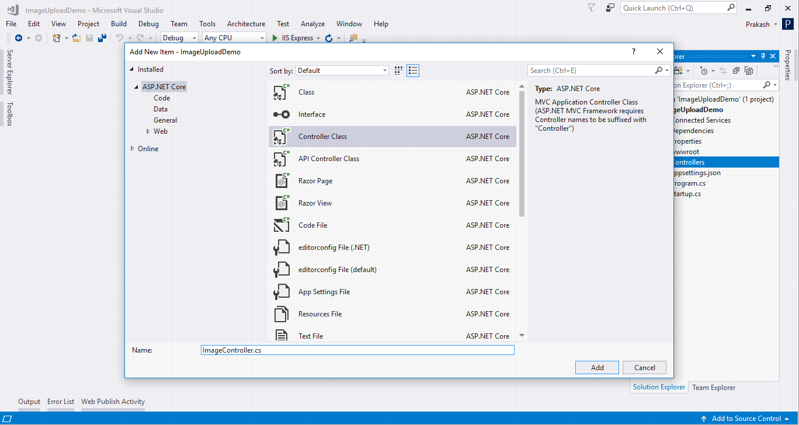
-
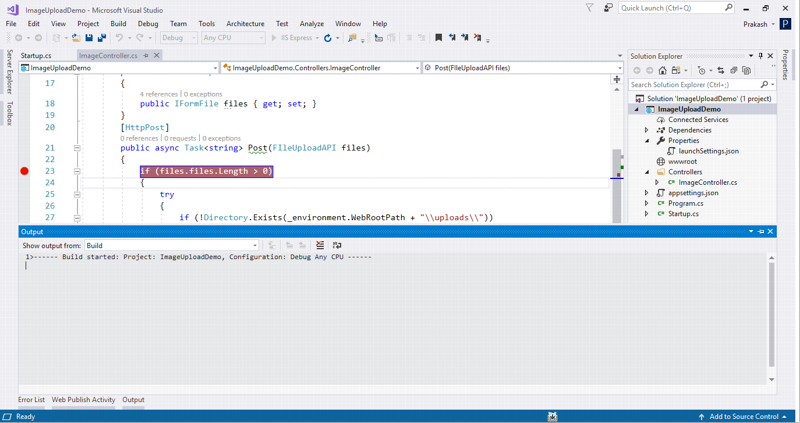
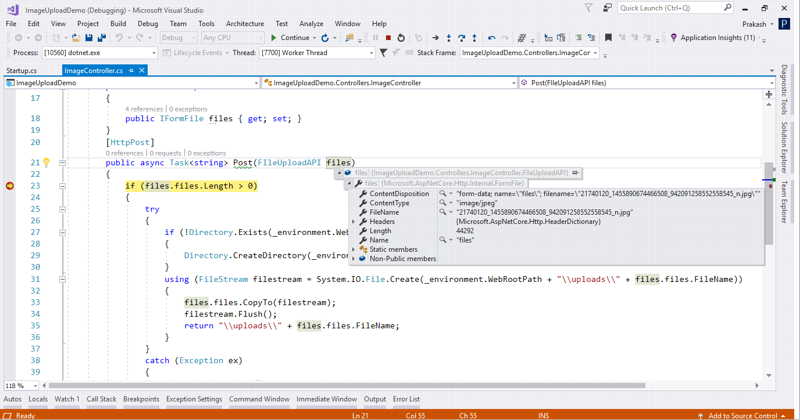
Add following code on ImageController.cs
using System;
using System.IO;
using System.Threading.Tasks;
using Microsoft.AspNetCore.Hosting;
using Microsoft.AspNetCore.Http;
using Microsoft.AspNetCore.Mvc;namespace ImageUploadDemo.Controllers
{
    [Route("api/[controller]")]
    public class ImageController : ControllerBase
    {
        public static IHostingEnvironment _environment;
        public ImageController(IHostingEnvironment environment)
        {
            _environment = environment;
        }
        public class FIleUploadAPI
        {
            public IFormFile files { get; set; }
        }
        [HttpPost]
        public async Task<string> Post(FIleUploadAPI files)
        {
            if (files.files.Length > 0)
            {
                try
                {
                    if (!Directory.Exists(_environment.WebRootPath + "\\uploads\\"))
                    {
                        Directory.CreateDirectory(_environment.WebRootPath + "\\uploads\\");
                    }
                    using (FileStream filestream = System.IO.File.Create(_environment.WebRootPath + "\\uploads\\" + files.files.FileName))
                    {
                        files.files.CopyTo(filestream);
                        filestream.Flush();
                        return "\\uploads\\" + files.files.FileName;
                    }
                }
                catch (Exception ex)
                {
                    return ex.ToString();
                }
            }
            else
            {
                return "Unsuccessful";
            }

        }
    }
}
Now, let’s test our WEB API Manual with postman:
- let's Run web API
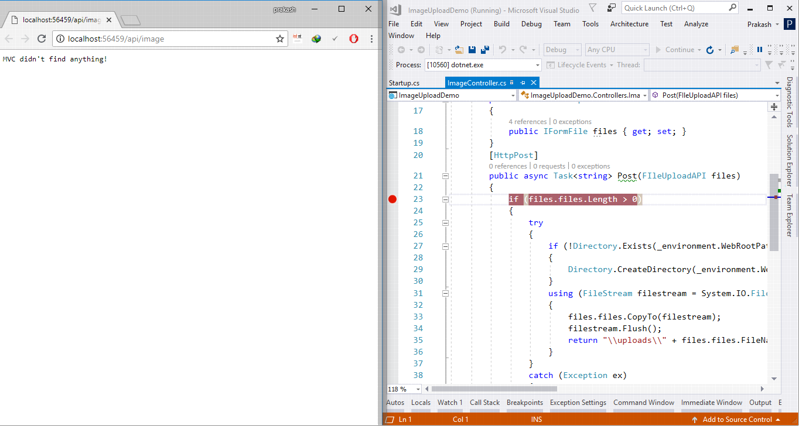
- As we can see that our project is running on “http://localhost:56459/”
- Now let’s go to postman
- Enter details according to following image.
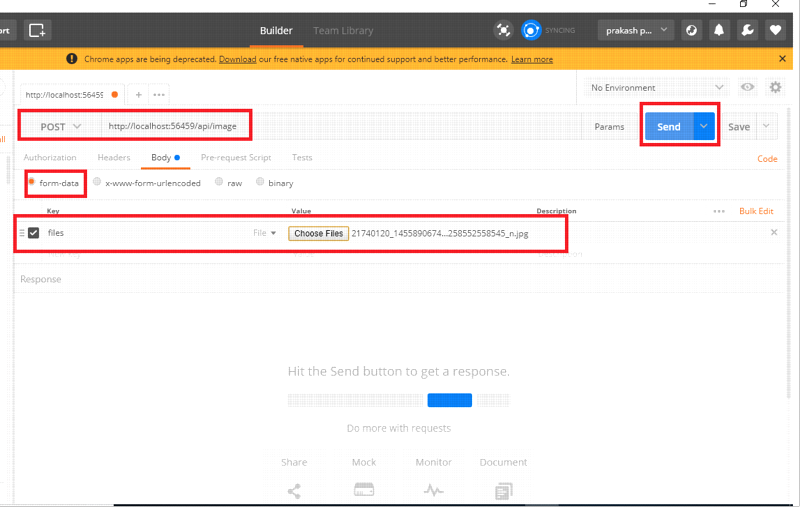
- Click on Send
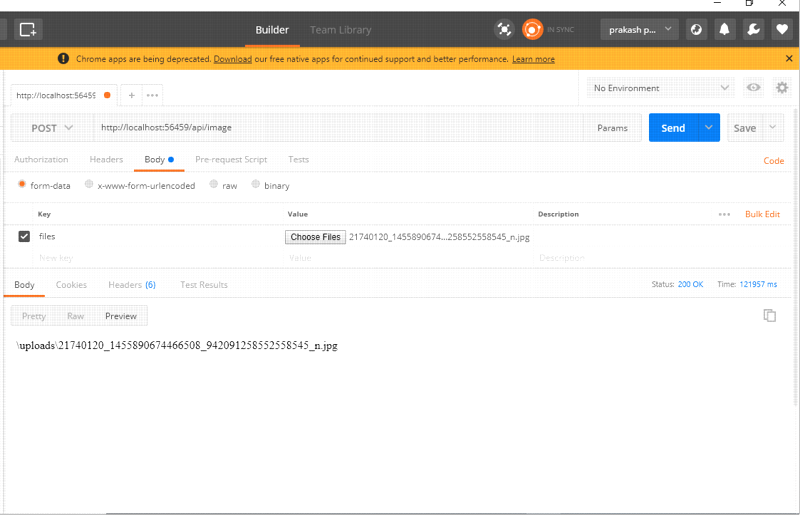
- Finally, Image uploaded. Inside wwwroot/uploads

Summary:
In this article, we learned how to create Image upload API using asp.net core and test it using Postman.
Happy Coding!!!
Also Read:
-
How to perform CRUD Operation in ASP.NET Core MVC with ADO.NET?
- How to use ADO.NET in .NET Core 2.x for Performance Critical Applications
- How to Set Connection String in Production Application for best Performance
- AspNet MVC Core 2.0 Model validations with custom attribute
- How to Upload File in ASP.NET Core with ViewModel?
- How to read appSettings JSON from Class Library in ASP.NET Core?