Getting Started with Asp.Net Core with Visual Studio
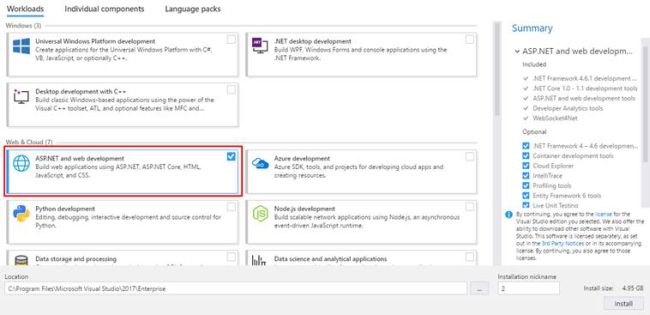
This Tutorial will help you to set up a web application in Visual Studio. At First You will need to set up Visual studio 2015 or higher version. For this you need to visit www.visualstudio.com. Run the installer and select the following workloads:
- ASP.NET and web development (under Web & Cloud)
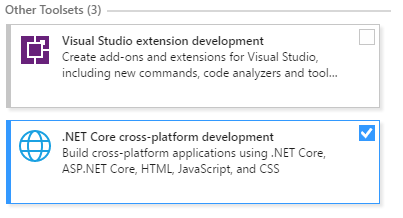
- .NET Core cross-platform development (under Other Toolsets)
Now Set Up Will be Started. It can take 1 hours(approx.) depending on speed of Internet Connection.
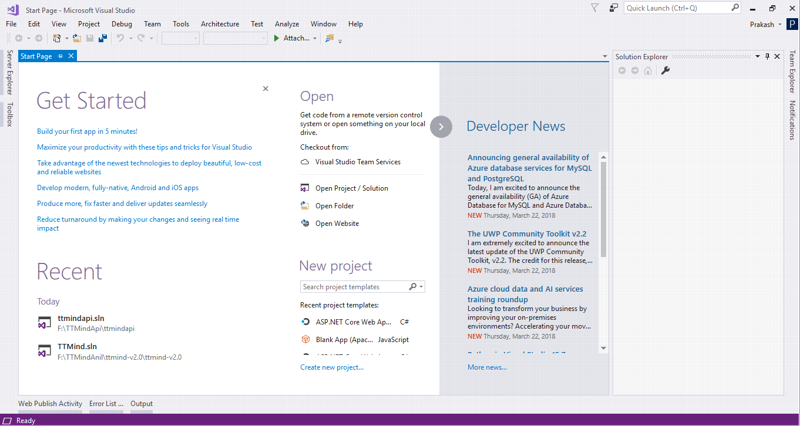
After the Set Up is finished, open visual studio.exe whethe from the located disk or from the All Program Start Menu.
Here, I’m using Visual Studio 2017.

The Start Page look like this:
To Create the Web Application: -
- Click on New in the left side of the Visual Studio.
- Another Tab appears and Select Project.

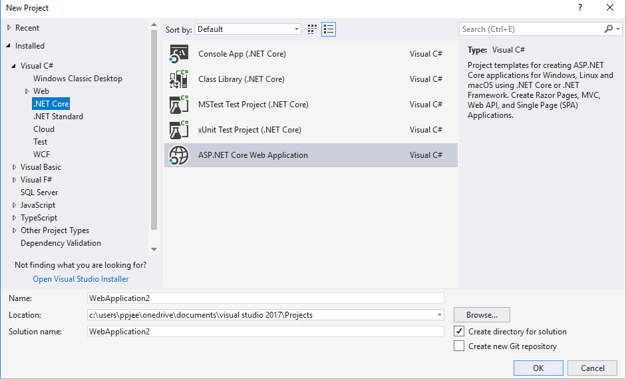
Another Window appears then on the left side choose .Net Core.
- Select Asp.Net Core Web Application (.Net Core) and provide an appropriate name for the project.
- Tab Ok.
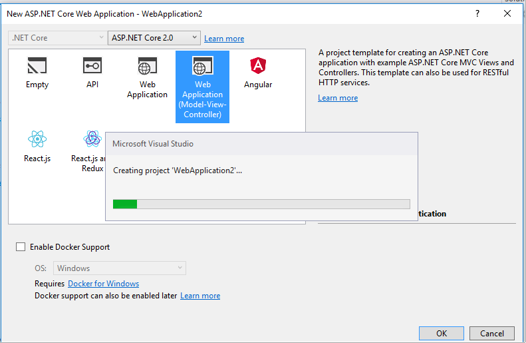
Now We need to select a template.
- Here We are building a Web Application So Select Web Application.
- On the right side we can change the authentication but for now we will stick to No Authentication.
- Below Authentication there is a option to host our project in cloud. We will leave it in default.
- Tab Ok.
The Visual Studio now will start to build a web application and Start Page will appear with the name of your project on the top left of the Visual Studio.
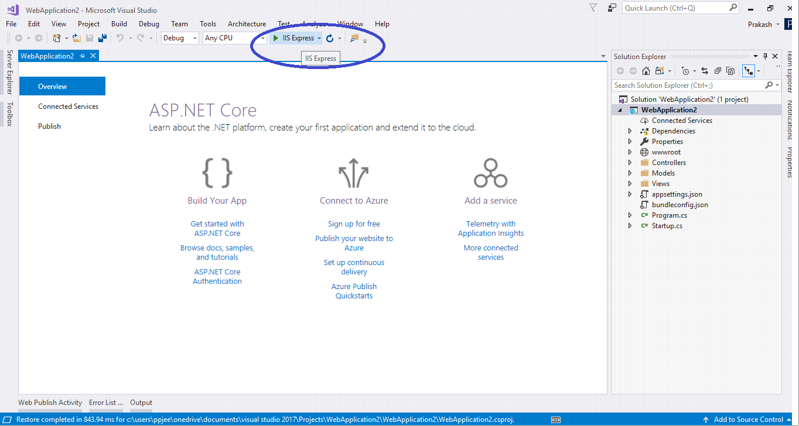
- In the Solution Explorer on the right side of Visual Studio consists of different code which we will talk about later.
- Click On IIS Express to run the project. It will build the Solution that means our project. If we had the errors in our code which we have not done it yet, Visual Studio will show us the errors and warnings or we can see them on View Tab on top tool bar and Select ErrorList.
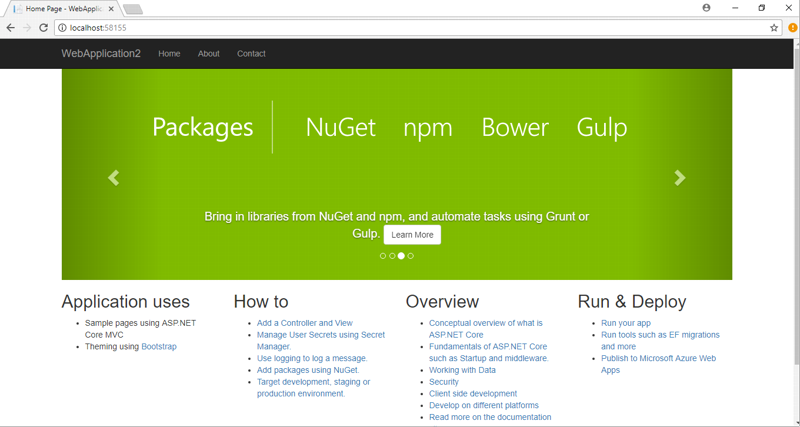
- Our Project opens in Google Chrome or whatever is our default Browser. Notice that the address bar shows
localhost:port#and not something likeexample.com. That's becauselocalhostis the standard hostname for your local computer. When Visual Studio creates a web project, a random port is used for the web server. In the image above, the port number is 2196. When you run the app, you'll see a different port number. - Launching the app with Ctrl+F5 (non-debug mode) allows you to make code changes, save the file, refresh the browser, and see the code changes. Many developers prefer to use non-debug mode to quickly launch the app and view changes.
- You can launch the app in debug or non-debug mode from the Debug menu item: