Sorting and Grouping Grid Using ASP.NET Core Web API
In this article, we will be leraning how to manage our data by enabling sorting, grouping, pagination, reordering etc using Restful API in Asp.Net Core. We wil be using Kendo Grid as it is the most popular nowadays and people find it easy but yet attractive to use. So, let’s get started.
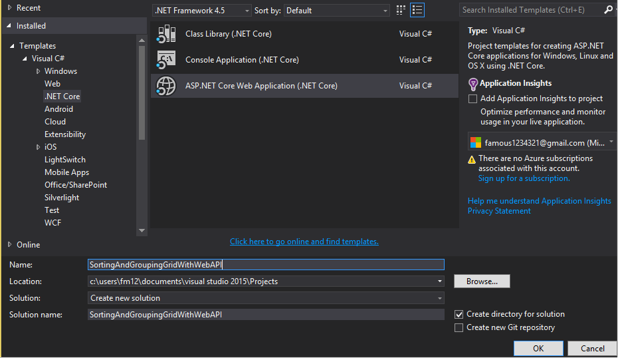
- Open Visual Studio 2015 Update 3 or Higher version.
- File >> New >> Project.
- Choose Asp.Net Core Web Application.
- Provide a suitable name for the project and Click on Ok.
- Choose Web Application from the template and click on Ok.
Adding Model
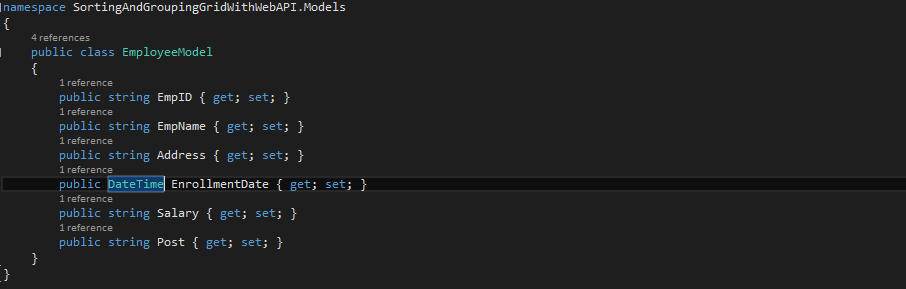
Create a new folder and name it “Models”. And under this folder again create a folder named “Employee”.
Now add a new class named “EmployeeModel” and add some properties as shown in the code snippet below:
Adding Web API
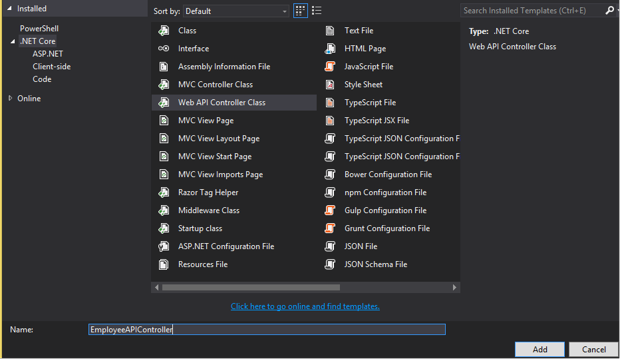
- Right Click on Controller Folder and Add New Items.
- Choose Web API Controller and provide a suitable name. Here I have given “EmployeeAPIController”.
- Click on Add.
There will exits default methods for CRUD operations. We don’t need that for now.
Creating Method:
Now we will create a method to get all the Employee List as shown in the figure below:

Use Route(“Home/api/EmployeeAPI/GetAllEmployees”) ahead of Method GetAllEmployee that we will call from html page after.
Adding A View:
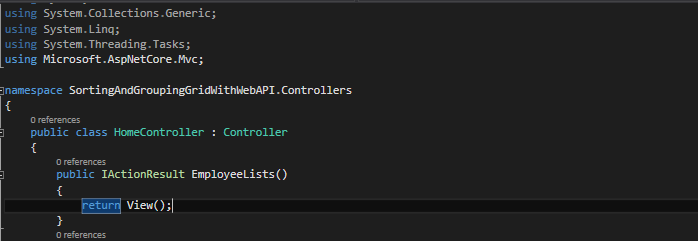
Before adding a view, lets create a new method named “EmployeeList” in HomeController as shown in the code snippet below:
Now let’s create a view. To do this:
- Go to Views in Solution Explorer.
- Right click on Home Folder >> Add New Item.
- Choose MVC View Page from .Net Core Template.
- Click on Add.
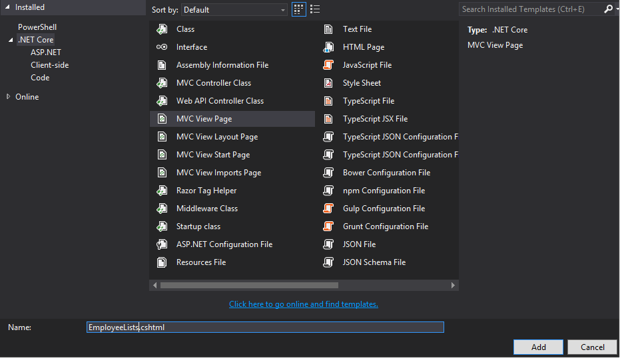
Note: The method name and the view page name must be same. Now add html code in the view page as shown in the code snippet below:
@{
    ViewData["Title"] = "EmployeeLists";
    Layout = "~/Views/Shared/_Layout.cshtml";
}
<script src="~/lib/jquery/dist/jquery.min.js"></script>
<script src="http://kendo.cdn.telerik.com/2017.1.118/js/kendo.all.min.js"></script>

<link rel="stylesheet" href="http://kendo.cdn.telerik.com/2017.1.118/styles/kendo.common.min.css" />
<link rel="stylesheet" href="http://kendo.cdn.telerik.com/2017.1.118/styles/kendo.rtl.min.css" />
<link rel="stylesheet" href="http://kendo.cdn.telerik.com/2017.1.118/styles/kendo.silver.min.css" />
<link rel="stylesheet" href="http://kendo.cdn.telerik.com/2017.1.118/styles/kendo.mobile.all.min.css" />


<div class="panel panel-primary">
    <div class="panel-heading">Employee List</div>
    <div class="panel-body">
        <div id="Grid"></div> <!--end of grid-->
    </div> <!--end of panel-body-->
</div> <!--end of panel-primary-->

<script>
    $(document).ready(function () {
        $("#Grid").kendoGrid({
            dataSource: {
                type: "json",
                transport: {
                    contentType: "application/json; charset=utf-8",
                    type: "GET",
                    dataType: "json",
                    read: "api/EmployeeAPI/GetAllEmployees",
                },
                pageSize: 5,
                schema: {
                    model: {
                        fields: {
                            EmpID: {
                                type: "string"
                            },
                            EmpName: {
                                type: "string"
                            },
                            Address: {
                                type: "string"
                            },
                            EnrollmentDate: {
                                type: "date"
                            },
                            Salary: {
                                type: "string"
                            },
                            Post: {
                                type:"string"
                            }
                        }
                    }
                },
            },

            sortable: true,
            groupable: true,
            pageable: {
                refresh: true,
                pageSizes: true,
                buttonCount: 5
            },
            columns: [{
                field: "empID",
                title: "Emp ID"
            }, {
                field: "empName",
                title: "Employee Name"
            }, {
                field: "address",
                title: "Address"
            }, {
                field: "enrollmentDate",
                title: "Enrollment Date",
                format: "{0:MM-dd-yyyy}"
            }, {
                field: "post",
                title: "Post"
            }]
        });
    });
</script>
Here I have provided the online reference for the javascript files of Kendo Grid and javascipt itself. You can even download and keep that in the project. If not then you need the Internet Connection to run the project to see the output.
Now build the solution and run the project and navigate to EmployeeLists method of HomeController i.e.http://localhost***/Home/EmployeeLists. We will see the output as shown in the following figure:
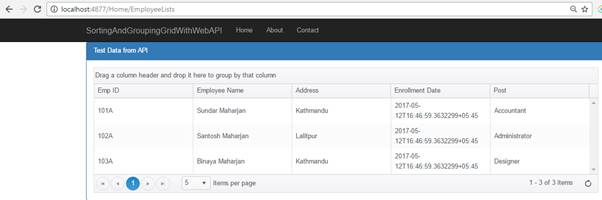
Sorting Icon is not visible but click on the column name it will sort the data for you. For more information visit ‘http://www.telerik.com/kendo-ui/grid’.